X
Only 30% of what we hear in a room comes from the speakers. The rest of the sound comes from the room itself. Tuning a critical listening space can make a world of difference.
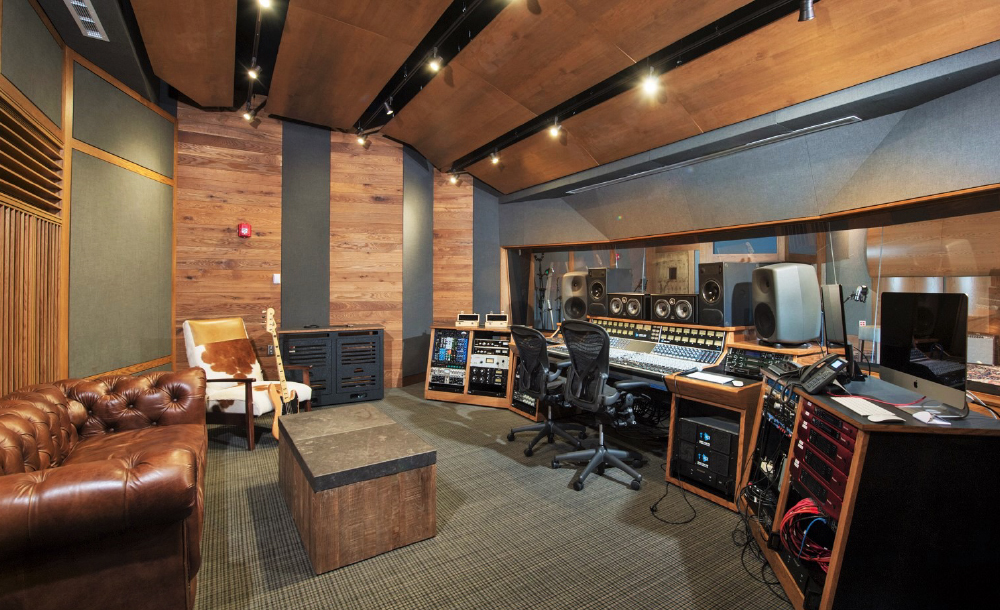
Especially in critical listening spaces, the acoustic behavior of the room dictates what we hear. By carefully curating the elements in the room, we can create a neutral acoustic response that improves not only the authenticity of the primary acoustic signal, but also the audial experience.
A room with the proper acoustical treatments and only average gear will easily outperform a room with great gear and poor acoustics. Typically the weakest link in a system’s playback chain will be your acoustical environment. This is because when you are more than a few feet away from the source, the majority of sound comes to you indirectly from the room and not directly from the speakers.
The goal of properly treating a critical listening space is to render the room acoustically isolated and neutral. Sound engineers want to record the best representation of what is being played or spoken, and not have to compensate for poor room acoustics when mixing. Patrons expect an authentic acoustic experience without interference from the room or other people in it.
We use best-in-class techniques to examine acoustic problems before recommending a solution
Using data collected from our analysis, we create custom solutions to solve your unique acoustic challenges
Using rugged commercial grade materials, our intelligent acoustic solutions look great, sound amazing, and stand the test of time
We understand that each critical listening space presents its own challenges. Our method of design is a step-by-step analysis of each critical component of the room. By creating a predictive model of the room’s acoustic response, we can manipulate the geometric elements in the room to precisely tune its acoustic contribution.
As experts in acoustic design, we can help develop an effective, comfortable, and aesthetically pleasing acoustic solution that helps your organization improve the quality and productivity of time spent in your facility.
Our project managers will work with you to assess your noise control needs. With a keen focus on delivering a turn-key solution, we can help design an acoustic package to solve any noise issue.

After a 13-month hiatus, the Greer Cabaret Theater made its return in September 2023 following a $6 million renovation, which included significant improvements to the acoustic environment. The renovation project was a joint effort between DLR Group from Ohio and mossArchitects based in Pittsburgh. DLR Group, leveraging their in-house acoustic specialist, spearheaded the design of […]
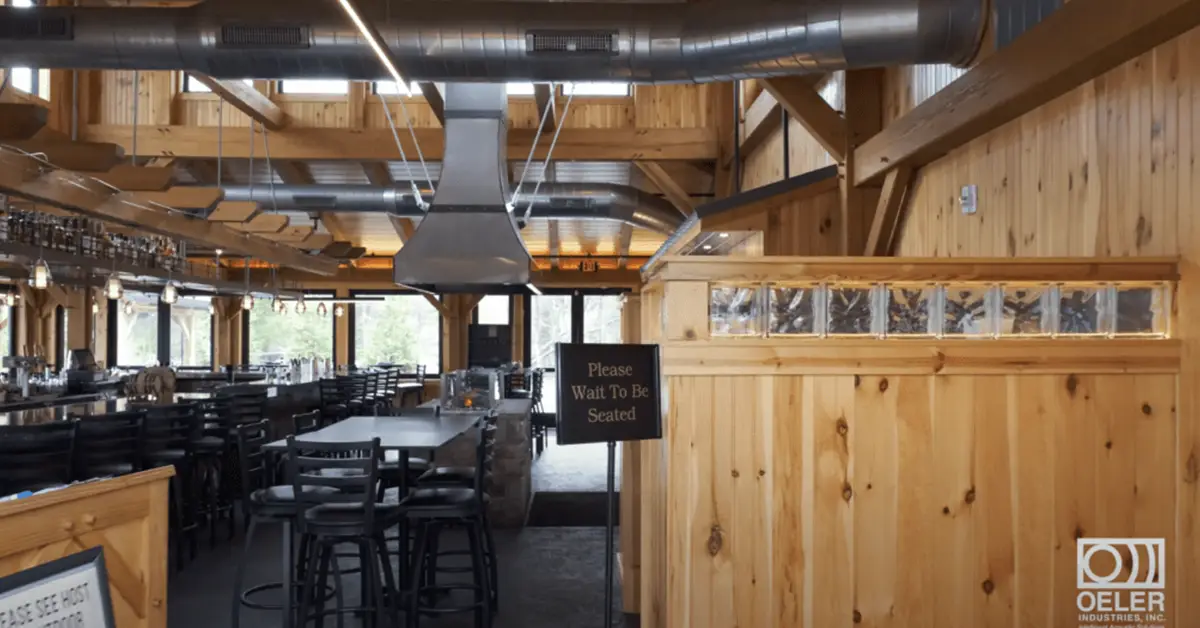
As the holiday season is in full swing, businesses set out on a mission to craft unforgettable experiences for customers. With all the festive decorations and sparkling displays, the often-overlooked yet influential element of sound, more specifically the acoustic engineering of the space, has the potential to transform these experiences into cherished memories. Whether in […]
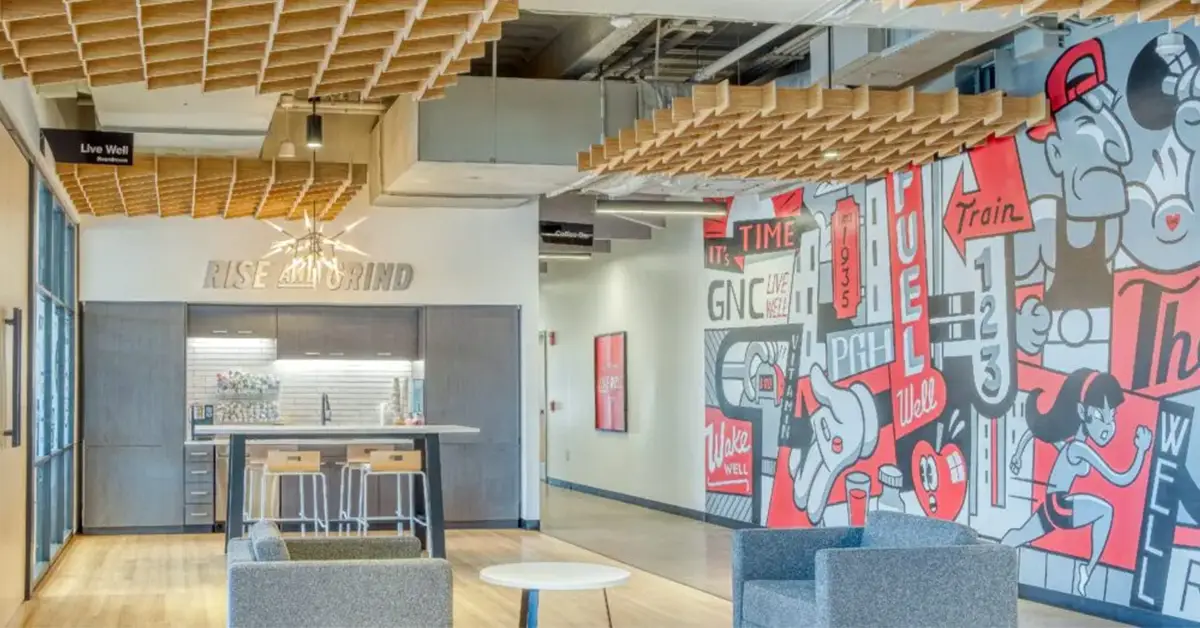
Today, in the tough world of business competition, your brand goes beyond just a logo. When people step into your physical spaces, whether it is a store, office, or restaurant, they enter a carefully curated world that tells your brand’s story. This story goes beyond mere looks – it is about creating a connection that […]